
A shower remodel usually looks simple in the showroom and stressful in real life. The part most homeowners worry about is not the wall color or fixture finish. It is what happens after the order is placed. The certified shower installation process matters because that is where quality, timing, waterproofing, and long-term performance are either protected or compromised.
A good installer is not just there to put panels on a wall and call it done. They are there to make sure the new shower fits the space correctly, drains properly, seals out moisture, and performs the way it should for years. That is the real difference between a remodel that looks good on day one and one that still works well long after the dust is gone.
What the certified shower installation process actually means
When homeowners hear the word certified, they often assume it is just a marketing label. Sometimes, frankly, it is. But in a real certified shower installation process, certification should mean the installer has been trained on a specific system, follows defined installation standards, and is accountable to a consistent method rather than making decisions on the fly.
That matters because shower remodeling is not forgiving. A small slope issue in the base, a rushed seal at a corner, or poor prep behind the wall can turn into leaks, mold, or expensive repairs later. Certification does not guarantee perfection by itself, but it usually signals a tighter process, better quality control, and fewer shortcuts.
This is especially important in a category where many homeowners are still dealing with old-school contractors, vague timelines, and crews that seem to improvise from house to house. If you want a predictable outcome, you need a predictable process.
Before installation day, the real work starts
A professional shower remodel should not begin with demolition. It should begin with planning. That includes confirming measurements, reviewing the layout, checking fixture placement, and making sure the product ordered actually matches the existing space and plumbing conditions.
This early stage is where many remodeling headaches are prevented. If the rough opening is not what was expected, if the drain location creates a fit issue, or if the valve placement needs adjustment, it is better to catch that before the install crew starts tearing things apart. Homeowners often think delays happen because of installation itself. More often, delays happen because someone skipped the verification step.
That is one reason the best remodeling experiences feel faster even when they are more methodical. A company that handles design selection, pricing, and scheduling in a clear sequence can move quickly without creating chaos. No mystery pricing. No waiting around for a rep to come back with a new quote. Just a defined path from selection to install.
Step 1: Site protection and demolition
On installation day, the first sign of a professional crew is usually not speed. It is control. They protect floors, isolate the work area, and prepare the bathroom so dust and debris do not spread any more than necessary.
Then demolition begins. If this is a tub-to-shower conversion or full shower replacement, the existing surround, base, fixtures, and sometimes damaged wall material are removed. This stage can reveal hidden problems, especially in older homes. Water damage, mold, rotted studs, or outdated plumbing are not rare surprises.
This is where honesty matters. A trustworthy installer explains what was found, what needs to be corrected, and whether it affects cost or timing. Homeowners do not want sugarcoating. They want straight answers.
Step 2: Structural and plumbing assessment
Once the old materials are out, the installation team gets a clear look at the condition of the framing and plumbing. This part is not glamorous, but it is one of the most important parts of the certified shower installation process.
The wall structure has to be sound. The plumbing has to be compatible with the new fixture layout. The drain needs to align correctly with the new base. If adjustments are required, they should happen now, before any finished materials go in.
There is some trade-off here. Homeowners naturally want the fastest install possible, and many shower remodels can be completed quickly. But speed should never come from skipping prep. If a crew tries to install over a compromised wall or force-fit components into an uneven opening, the result may look fine for a few months and then start failing where you cannot see it.
Step 3: Base installation and drainage setup
The shower base is one of the most critical components in the entire system. If it is not level, properly supported, and correctly tied into the drain, everything built on top of it is at risk.
Certified installers follow the manufacturer’s requirements for setting the base, checking slope, and sealing the drain connection. This is not a place for guesswork. A shower that drains slowly, pools water, or shifts underfoot is not just annoying. It is a warning sign.
For homeowners, this is a useful reminder that the cheapest quote is rarely the full story. A lower price can reflect lower labor standards, less prep time, or a crew that cuts corners where you will never see them until there is a problem.
Step 4: Wall prep and waterproof installation
After the base is secured, the wall area is prepared for the new surround or wall system. Depending on the product and the condition of the bathroom, that may involve backer material, moisture management steps, trim alignment, and careful fitting around niches, shelves, or window openings.
This is where product quality and installer skill meet. Even premium wall panels can look mediocre if seams are uneven or cuts are sloppy. On the other hand, a well-installed low-maintenance wall system can deliver the clean, upgraded look homeowners want without the upkeep that comes with traditional tile and grout.
Waterproofing is the issue behind all of this. Most homeowners focus on appearance because that is what they can see. Installers have to focus on moisture control because that is what protects the house. Corners, edges, penetrations around fixtures, and transitions between components all need careful attention.
The certified shower installation process and fixture finishing
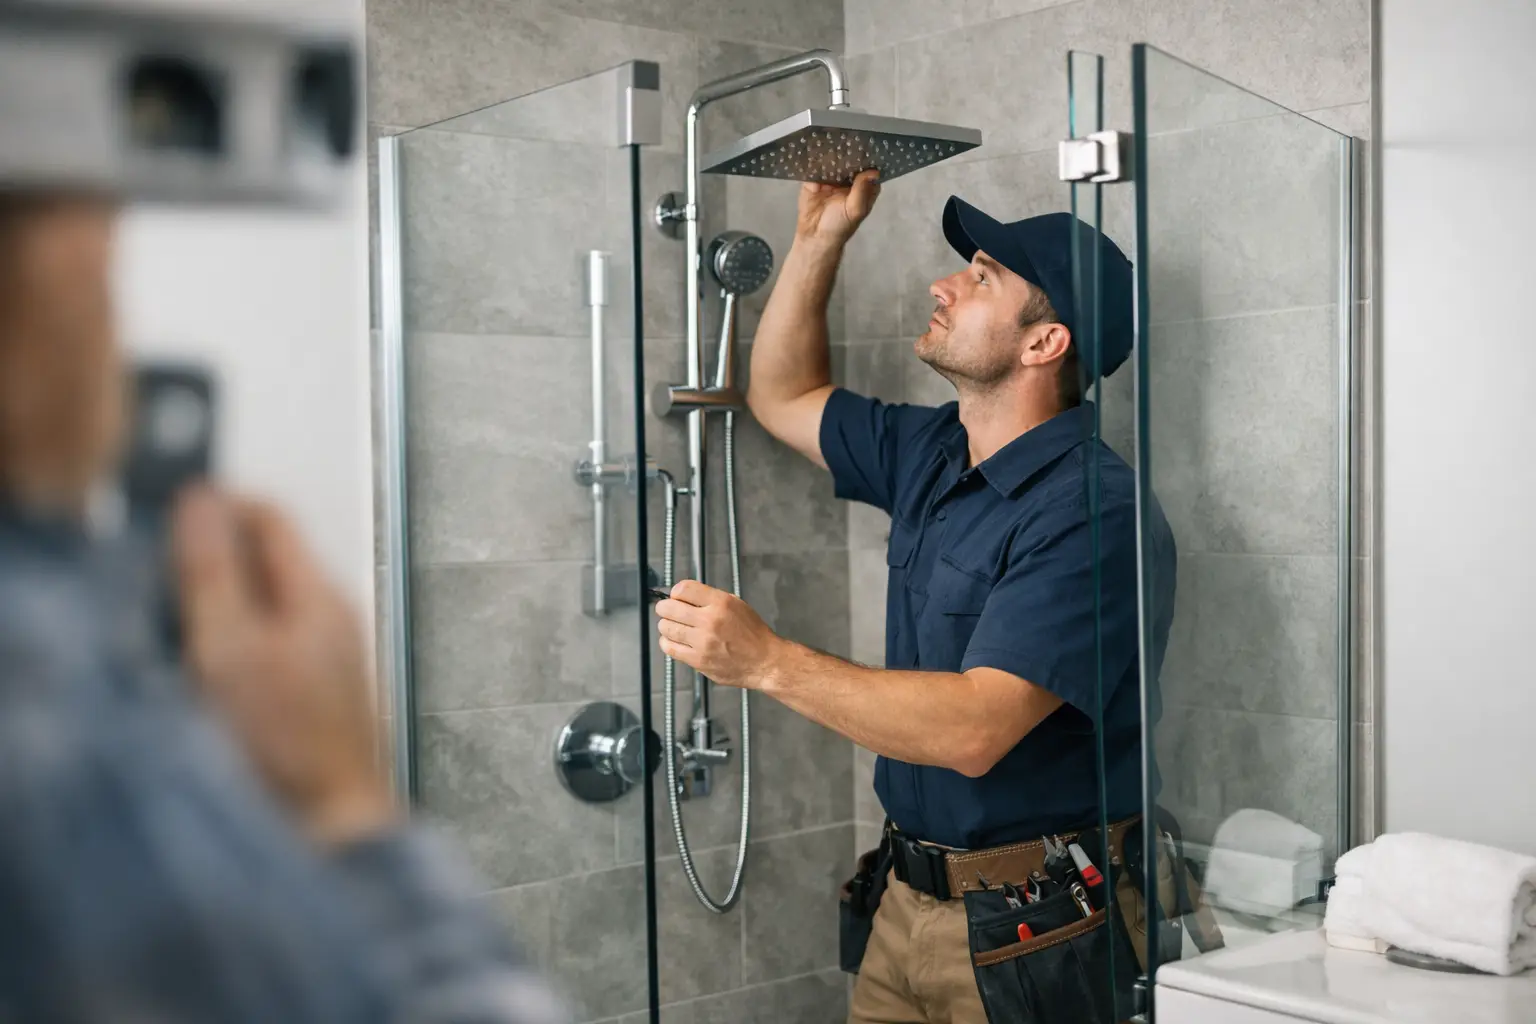
Once the walls are in place, the next phase of the certified shower installation process is fixture installation and finishing. That includes the valve trim, showerhead, handle, doors or rod, and any accessories that were part of the design.
This stage seems straightforward, but details matter. Fixtures need to align correctly, operate smoothly, and seal tightly where they meet the wall system. If the valve trim is off-center or the hardware feels loose, the whole project can feel lower quality than it should.
This is also where homeowners start to see the payoff of making selections upfront. When finishes, accessories, and layout decisions are settled before installation, the install itself becomes cleaner and more predictable. That is one reason digital-first remodeling works well for many buyers. You can make decisions on your own time, see pricing clearly, and avoid the exhausting back-and-forth that traditional sales-driven companies turn into a weeks-long process.
Step 6: Final sealing, cleanup, and inspection
A certified install should never end with the crew packing up the tools and heading out. The last stage is final sealing where required, cleanup, and a close inspection of fit, finish, function, and water management details.
The installer should check door operation if a door is included, confirm proper drainage, verify fixture performance, and make sure the shower is ready for use according to product guidelines. Homeowners should also get a clear explanation of care, cure times if relevant, and what is covered under warranty.
That last part matters more than many people realize. A warranty is only as useful as the process behind it. If the installation is standardized and documented, warranty support tends to be clearer and easier. If the project was handled loosely from the start, getting help later can become its own headache.
What homeowners should look for before they buy
If you are comparing shower remodeling options, do not just ask what the finished shower will look like. Ask how the installation process is managed. Ask who performs the work, what certified means in practice, how issues behind the wall are handled, and whether pricing stays transparent when the project moves from quote to install.
That is where a lot of remodeling companies fall apart. They sell confidence up front, then hand the real work to a disconnected crew or hide behind vague allowances and change orders. Homeowners deserve better than that.
A better process feels respectful from the beginning. You can review your options without sitting through a high-pressure in-home pitch. You can see price changes as you make selections. You know what happens next. And when installation day comes, the crew follows a system instead of winging it. That is the model ModernDayBath is built around, and it is why the experience feels simpler for homeowners who are done with the old way of buying a remodel.
The best shower remodel is not the one with the flashiest brochure or the biggest fake discount. It is the one installed correctly, explained clearly, and delivered without games. When the process is certified, transparent, and disciplined, you are not just buying a new shower. You are buying fewer surprises and more confidence in what is behind the wall.