
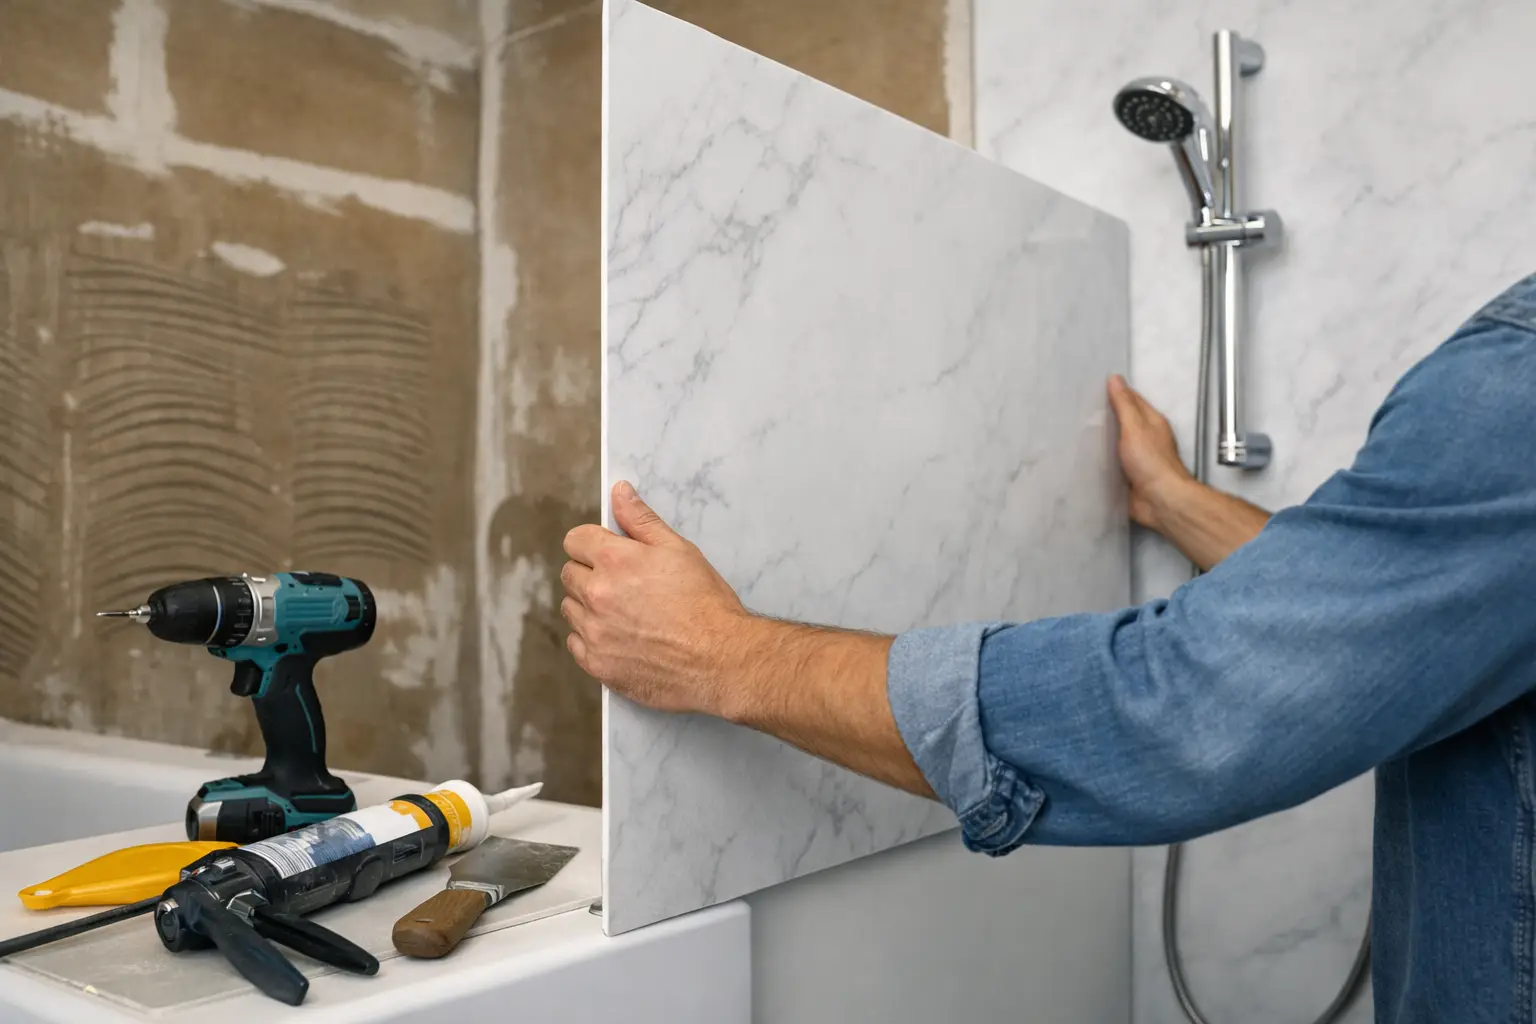
A shower wall panel installation can look like a simple weekend upgrade until water finds one missed seam. The panels themselves may be low-maintenance and easy to clean, but to install shower wall panels correctly, the prep work, waterproofing, measurements, and finishing details have to be right.
That is why homeowners should look past the panel sample and ask a more useful question: who is responsible for the entire wall system when the job is done? A clean-looking shower on day one is easy. A shower that stays dry, solid, and polished years later is the standard that matters.
What shower wall panels actually solve
Wall panels are a popular alternative to tile because they reduce grout lines, simplify cleaning, and can dramatically change the look of a shower without the long timeline of a full tile installation. Depending on the material and design, panels can create the appearance of natural stone, marble, tile, or a smooth contemporary finish.
The appeal is practical, not just visual. Fewer joints mean fewer places for mildew, soap residue, and moisture to collect. There is no grout to scrub or periodically reseal. For busy homeowners, that is a meaningful upgrade.
But panels are not a shortcut around a proper renovation. They need a sound substrate, accurate cuts around fixtures, well-sealed seams, and a waterproofed shower base. A premium panel installed over a damaged wall is still a damaged wall system.
Before you install shower wall panels, inspect the shower
The first real step happens before adhesive touches the wall. Remove the old surround, tile, or wall covering and inspect what is behind it. Look for soft drywall, stained framing, mold, leaks around valves, and an uneven or damaged shower base.
If water damage is present, fix the cause before covering it. Installing new panels over a wet or unstable surface may hide the problem temporarily, but it will not solve it. It can also turn a straightforward shower update into a more expensive repair later.
This is one reason instant online pricing should be paired with a clear installation process. Homeowners deserve a straightforward starting price, but they also deserve an installer who identifies legitimate site conditions before the final work begins. Transparency does not mean pretending every bathroom is identical. It means explaining what is found, why it matters, and what the solution costs before work moves forward.
Measure more than the width and height
A shower rarely has perfectly square walls. Measure the width at the top, middle, and bottom. Measure the height on both sides. Check the corners with a level and inspect the walls for bows or dips.
Those measurements determine whether the walls need correction before installation and where cuts should be made. A panel that is forced against an out-of-plumb wall can create gaps at the corners or put stress on the material. The goal is not to make the panel fit at any cost. The goal is a finished system with clean, properly sealed transitions.
You also need precise measurements for the shower valve, showerhead, grab bars, shelves, and any other accessories. Fixture openings should be carefully laid out, drilled with the correct bit, and sized to allow trim plates to cover the opening without leaving excessive gaps.
Choose a wall system, not just a color
Not all shower panels are made the same way. Some are thin decorative sheets intended for limited applications. Others are engineered wall systems designed for wet areas, with matched trim, corner pieces, adhesive, and sealant.
Material choice affects both performance and price. Acrylic and composite systems are common for their durability and low maintenance. Large-format solid-surface-style panels can deliver a high-end look with very few seams. The right choice depends on the shower layout, the condition of the existing space, your design goals, and your budget.
Be cautious with an unusually low estimate that focuses only on a panel price. It may leave out demolition, wall repair, plumbing updates, shower base work, trim, installation labor, or warranty coverage. The remodeling industry has trained homeowners to expect a “special price” after a long sales presentation. A better model is clear pricing upfront, with a clear explanation of what is included.
The installation sequence that protects the bathroom
Professional installers may use different products and methods based on the manufacturer’s system, but the sequence should be disciplined. First comes demolition and inspection. Next, any needed repairs are completed, plumbing is positioned correctly, and the shower base or pan is verified for level and drainage.
The wall surface must then be clean, dry, and suitable for the selected adhesive or waterproof backing system. In some projects, the existing surface can be used after proper preparation. In others, damaged drywall or unsuitable materials need to be removed and replaced. There is no universal answer, which is why a serious installer does not promise the same solution for every bathroom before looking at the conditions.
Start with the back wall and keep joints intentional
The back wall is typically installed first, followed by the side walls. Adhesive is applied according to the panel manufacturer’s requirements, and each panel is pressed into place with careful attention to alignment. The side panels are then fitted tightly against the back panel and surrounding trim.
This stage is where rushed work becomes visible. Uneven gaps, crooked pattern alignment, rough fixture cuts, and poorly planned seams all stand out once the shower is in daily use. If the panels have a veined or patterned finish, installers should also plan how the design will flow before making cuts.
Corners, edges, and transitions are finished with compatible trim pieces and sealant. The sealant is not an afterthought. It is part of the water-management system. A neat bead at the shower base, corners, and fixture penetrations helps keep water where it belongs.
Let materials cure before using the shower
A shower can look finished before it is ready for use. Adhesives and sealants need curing time, and that time varies by product and conditions. Turning on the shower too early can compromise a seal or weaken adhesion.
Your installer should tell you exactly when the shower can be used and how to care for it afterward. Usually, maintenance is simple: use non-abrasive cleaners, avoid harsh chemicals that can dull the finish, and inspect caulk or sealant periodically. Low maintenance does not mean no maintenance, but it should not mean spending Saturday morning scrubbing grout either.
DIY installation vs. professional installation
A capable DIY homeowner can install some panel systems successfully, especially in a simple alcove shower with square walls and no hidden water damage. The trade-off is that the homeowner assumes the risk for wall preparation, plumbing access, measuring errors, warranty limitations, and future leaks.
Professional installation makes more sense when the project includes demolition, a new shower base, plumbing changes, accessibility upgrades, uneven walls, or a tight timeline. It also makes sense when you want one party accountable for the finished result instead of sorting through separate product and labor warranties.
That accountability should not require sitting through a three-hour in-home sales pitch. ModernDayBath gives homeowners a more direct path: select a design online, see pricing as choices change, place a small deposit, and schedule certified installation. No commissioned salesperson parked at your kitchen table. No mystery discount that expires when they walk out the door.
Questions worth asking before you commit
Ask what happens if the old shower walls reveal water damage. Ask whether the estimate includes removal, wall preparation, fixtures, trim, installation, cleanup, and warranty coverage. Ask who handles service if a problem appears after installation.
Also ask how long the bathroom will be out of service. Many shower wall panel projects move faster than a traditional tile remodel, but the actual timeline depends on the scope of demolition, repairs, plumbing work, and material availability. A trustworthy company gives you a realistic timeline, not the fastest answer they think you want to hear.
Your shower should feel like an upgrade from the first morning you use it, not a reminder of a stressful buying process. Choose the wall system you like, insist on an installation process that protects the space behind it, and keep control of the project from price to final seal.